Quickstart
This guide will help you get started with the MaaS API. We will guide you through creating a simple AI model
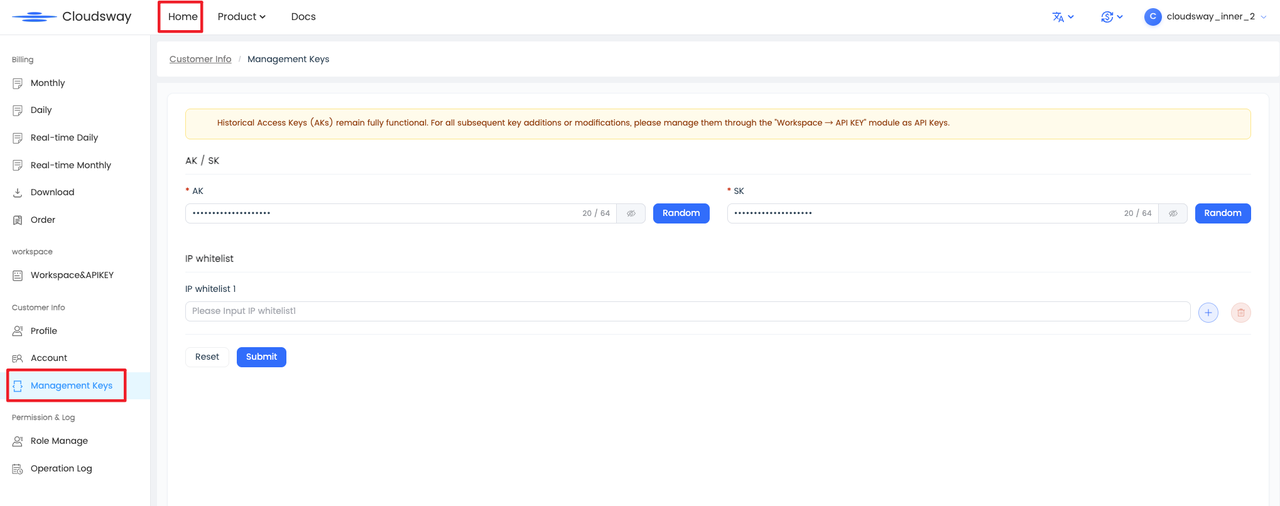
Step 1: Log in to the Console to obtain the secret access key
After logging into Cloudsway Console with your account, you can refer to the following picture to find your secret access key AK information. AK is the credential used to access the MaaS API. Please keep it properly
The login page is located at here .

From the Home Page - Manage Keys, then you can see your secret access key.
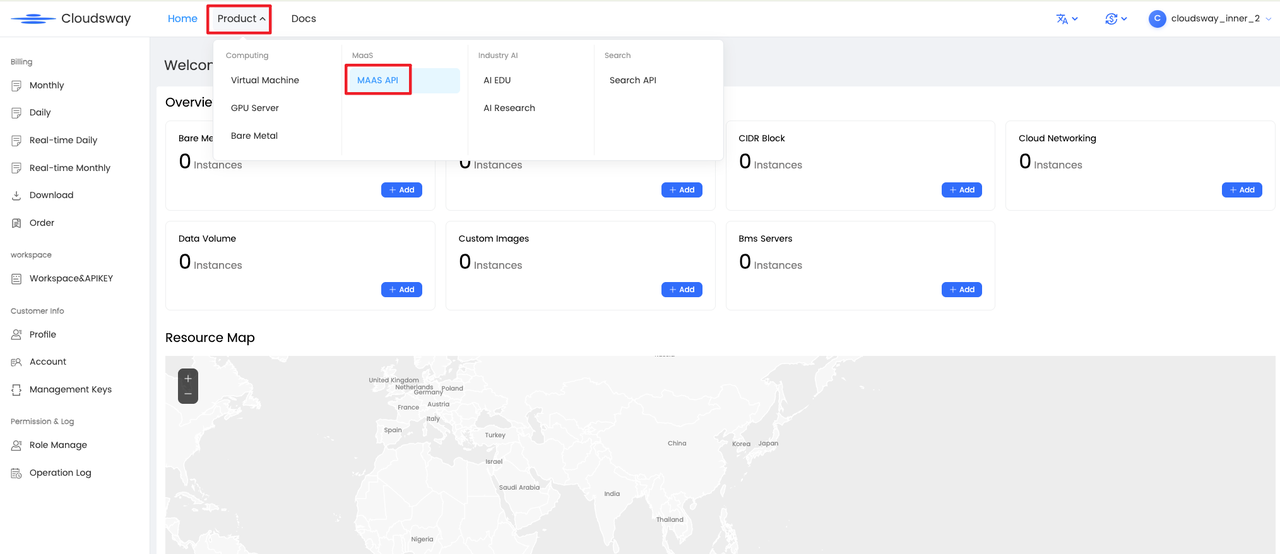
Step 2: Access the MaaS API to view resources
Currently, self-service creation of models is not available. After the background colleagues have completed the creation, you can navigate toMaaS API:
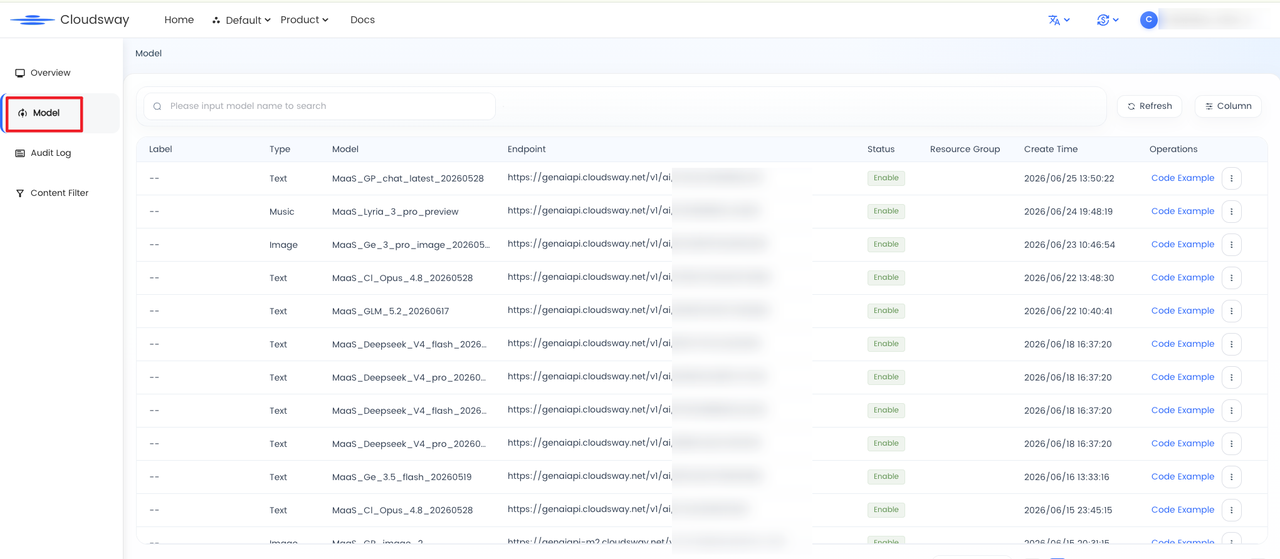
You can see the corresponding endpoint generated by the model on the model list page:
Step 3: Complete the call
Use the AK information and endpoint information obtained from the Console to complete the call
        curl -X POST 'https://genaiapi.cloudsway.net/v1/ai/{Your Endpoint}/chat/completions'
        -H 'Authorization: Bearer YOU_API_KEY'
        -H 'Content-Type: application/json'
        --data '{
        "model": "MaaS_DS_V3.1_20250821",
        "messages": [
            {
                "role": "user",
                "content": "hello"
            }
            ]
        }'
Returns the following results:
        {
        "choices": [
            {
                "finish_reason": "stop",
                "index": 0,
                "logprobs": null,
                "messages": [
                {
                    "role": "assistant",
                    "content": "I'm doing well, thank you for asking. How can I help you today?"
                }
                ]
            }
        ],
        "created": 1632345678,
        "model": "deepseek—3.1",
        "object": null,
        "system_fingerprint": null,
        "usage": {
            "completion_tokens": 100,
            "prompt_tokens": 20,
            "total_tokens": 120
        }
        }
Step 4: Configure Content Filter
Log in to the MaaS API Console, upload sensitive words in excel/csv format according to the business scenario, and bind the endpoint to take effect. The platform will filter input and output based on the uploaded sensitive words.


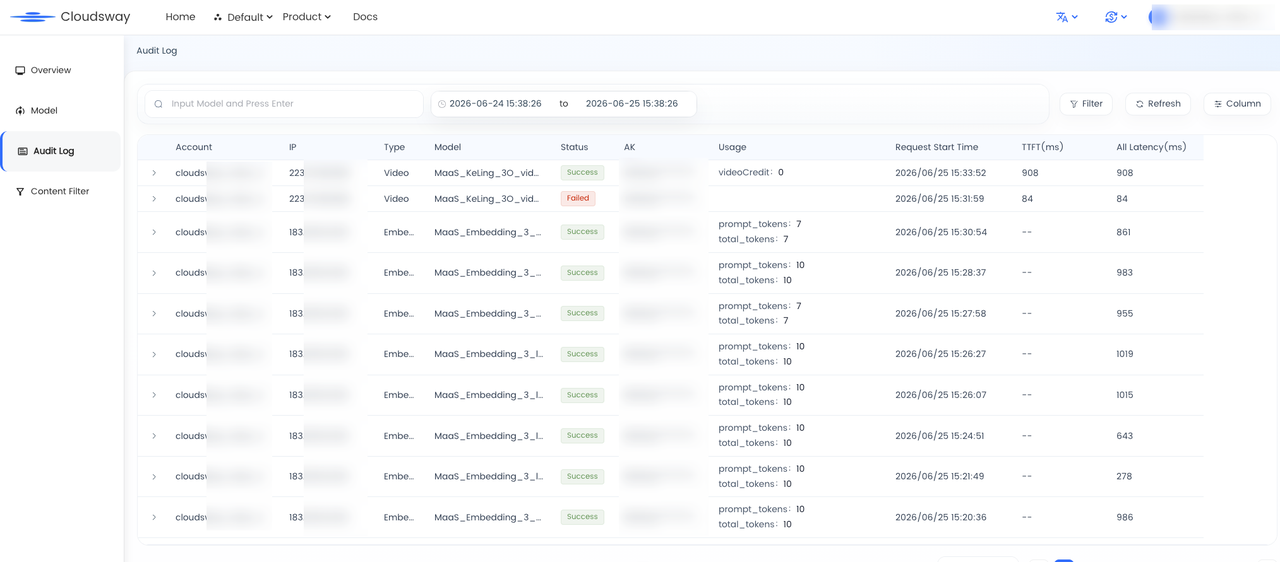
Step 5: View audit logs in the Console
Log in to the MaaS API Console, and view audit logs
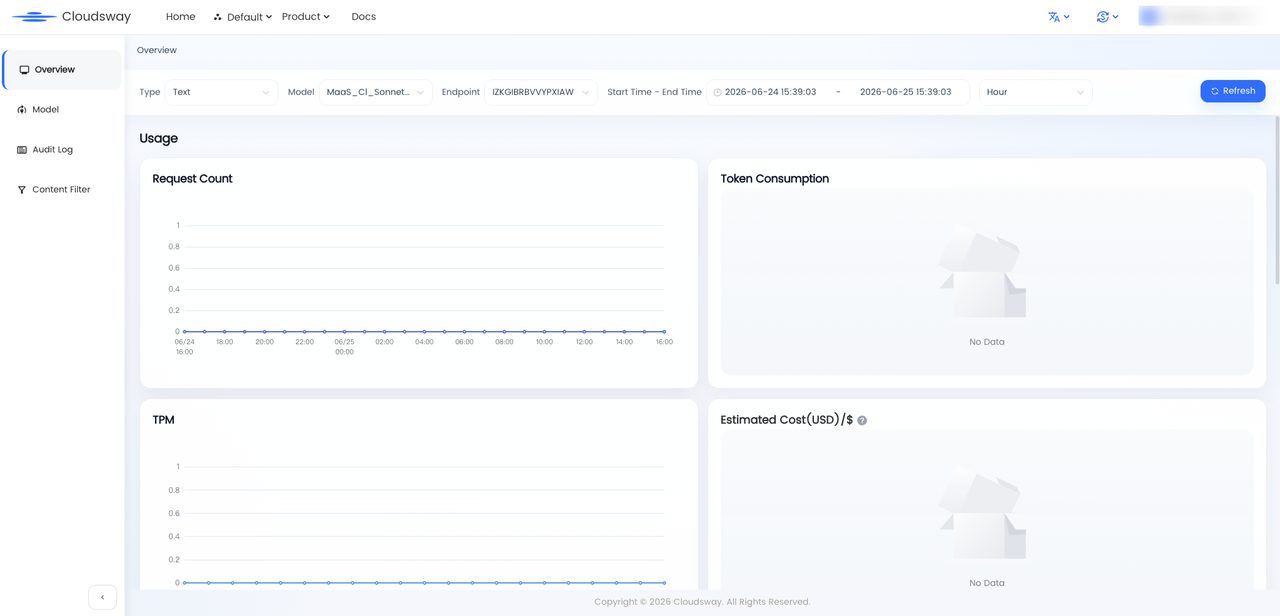
Step 6: View monitoring data on the Console
Log in to the MaaS API Console, view data such as usage and latency
Step 7: Manage Workspace
If you have multiple business departments, in addition to the need for statement splitting, you also hope to achieve resource isolation. You can create corresponding workspaces for multiple businesses respectively, and configure resources into the specified workspaces to achieve resource isolation. For detailed operations, you can refer to Workspace Operation Guide